Hi all,
I get a lots of question from people who is about to purchase the FS700 or who has already taken the plunge. Lets start from the beginning. FS700 does 240FPS in FULLHD for around $8,000 no other camera can do that in it price range and now it does 2K/4K. I have shot most of my personal stuffs mainly on 240FPS. Why cause it makes my son looks cool and teaches me to be patience with my shots. Find your style and perfect your technique. But for the most part I don’t have time to add vocal and spent weeks on grading and create something will take up most of my time cause shooting with my son is only a hobby. I shoot for 2.5 hours with my boys and then spent 3-4 hours editing it.
This is something I would like to share with most people. When I am editing my footages. I would go through my footage over and over again. See which area can be improve such as my framing when placing my subjects right in the middle or to the left. I will go into detail later about this.
So lets use the one feature this camera has that most of you probably hardly use. This camera kick ass when you want a smooth glid or slid in or out / up or down / side to side at 120FPS or 240FPS. It is magic once you get the hang of it. I have proven here that if I can do with handheld. Imagine what you can do with a trolley, skateboard or bicycle. This is only applied to those who want to get that cinematic shots. If you want a simple shot then you can just gently move the camera from left to right and people want be able to tell if you had on a slider.
So how do I do it? Well it not simple but it takes a few go doing the same shots and style over and over again. First of all. Lets get the setting right first. In your camera – under DISPLAY SET – MARKER – have this setting – ON and CENTER – ON – ASPECT is set to – 2:35:1 – SAFETY ZONE – OFF – GUIDE FRAME – OFF. Ok now once you out of the menu. In your view finder you will see that the TWO HORIZONTAL LINE has appear at the top and at the bottom and a CROSS in the middle. This two line are your lifeline. They give a sense of balance meaning when you start pulling your camera from left to right for example. You must keep those line align to your environment or background. At the same you will need to keep your subject in your frame. Now as for framing guys there are no right and wrong here. Put your subjects anyway in your viewfinder where you are most happy…but try to keep it interesting to the people who is going to view you film. I think film maker, photographer are artist just like a painter. Our film is our art. I like to make sure my film give the audience a sense mystery or emotion to it. For example I shoot mainly with my son. If I have my way I would just have his face in all my framing cause I love him so much. But this is not just for me. I have an audience that follow my works.
So lets get into the shots with how I archive it. Lets start with –By the way shots at 240FPS.
00.01
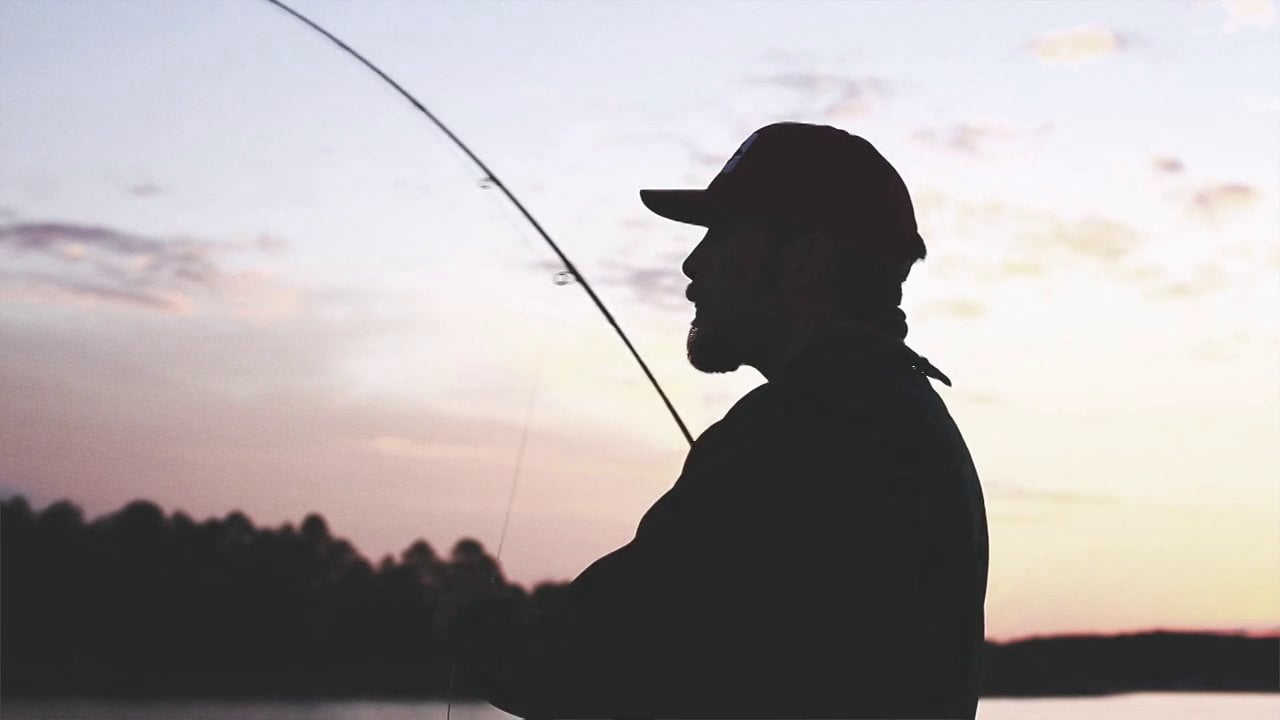
Holding the camera very steady and walking very slow toward the subject and keeping my horizontal line balance.
00.13
I pull the camera back and fourth very fast but making my son head is still in my frame.
00.21
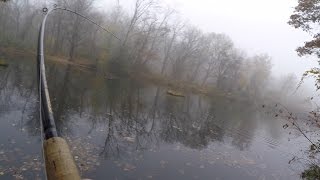
I study the wave when it will hit the rock . By giving myself a 2 second start by hitting the Start trigger (record button) I was able to record it just when has the beautiful splash.
00.26
This very simple. Just slowly move the camera from left to right and keeping the camera lower then the subject.
00.34
This one I pull the camera in and out from my chest. This was at medium speed. Not to fast not to slow.
00.39-00.51
Just spin the camera around like a twister making sure your subject is in the frame. Just play around with it. You get some cool shots.
01.15
This is the shot that I want to show people that If I was to shoot my son just walking it can be a bit boring…but if I go behind a tree and move the camera to the left while he is moving toward the right. It give the footage a sense of movement and mystery.
01.17
This shot I got down on my knee and hold it with two hand. Hot the record button…same thing move it from left to right about three times keeping that horizontal line to your background.
1.30-1.55
I left it abit longer so you can see that by just pulling the camera forward and pulling it backward to your chest…it almost look like you had a slider setup. Hehe
Anyway that probably gave you an ideas about something that can be achieve with this great camera in 2.5 hours.